
DEEPER TIPS · ASK A REAL SEARCH QUESTION INSTEAD OF GUESSING AT SETTINGS
Which beam cone should you use with Deeper?
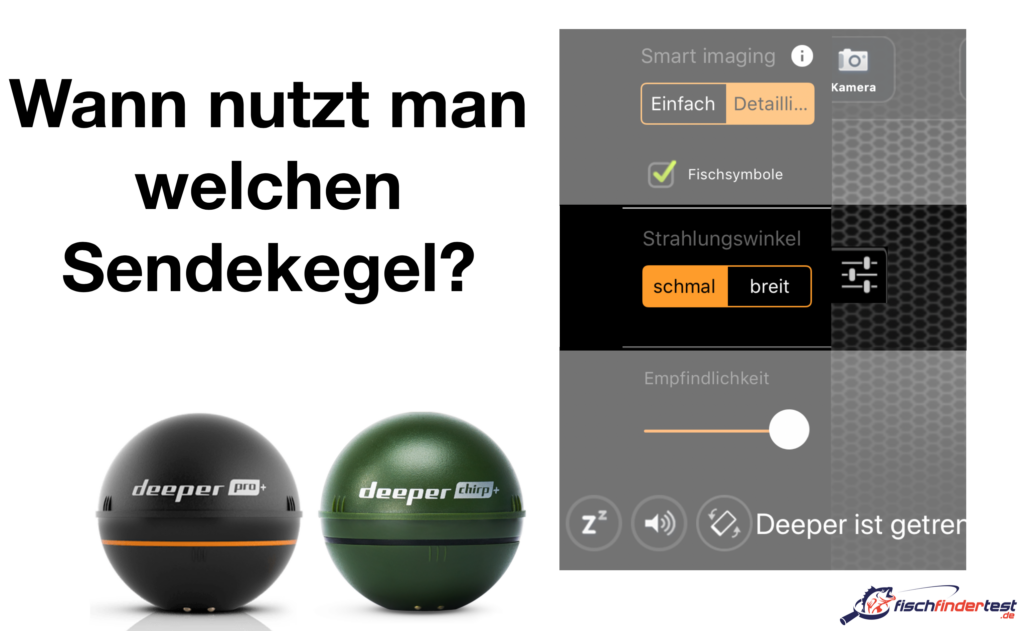
This was already one of the most common questions in the previous Deeper article: When should I use the narrow cone, when should I use the wide cone, and when should I use the medium cone with CHIRP? The principle has not changed. The setting is not the goal; the goal is answering your question on the water.
What does a Deeper's beam cone show you?
Do not think of the cone as a thin laser, but as an area that widens as depth increases. In shallow water, even a wide cone remains manageable. At greater depths, the same cone covers a very large area of the bottom. This can be useful during an initial search, but it makes it harder to pinpoint a small depression, an individual rock, or a hard transition.
Wide
Question: What is generally happening in this area?
Good for an initial overview, shallow water, weed edges, and quickly ruling out empty areas.
Medium
Question: Which area is likely to be interesting?
On CHIRP models, this is the practical middle ground when you want to combine coverage and detail.
Narrow
Question: What exactly is at this drop-off or depression?
Good for checking a notable structure and getting more detail beneath the transducer.
When should you use a wide, medium, or narrow cone?
When you visit a lake for the first time, maximum detail at one small point is not very useful. First, you want to know: Where does the depth change? Where do the weeds end? Are there plateaus, channels, or a hard transition? A wide coverage area is useful for this. Switch cones at the suspicious spot. The narrower cone then helps you avoid blending the structure with half of the surrounding area.
The same applies on a river, but you must keep the current and casting angle in mind. Do not scan the tip of a groin, its outer edge, and the eddy only once in a straight line. Cast in a fan pattern and compare the images. A return becomes credible only when it appears again in the corresponding location during a second scan.
Why does the cone become so important as depth increases?
A wide cone is not bad—it simply answers a different question. It shows you whether anything is happening at all within a larger area. A narrow cone helps when you need to make a more precise decision: Is the transition really there? Is the hard line an individual rock, a drop-off, or merely the edge of the covered area? This applies to all fish finders, not just Deeper.
With CHIRP models, you should not automatically assume that every mode does everything better. CHIRP can improve target separation and readability, but the selected cone still determines the size of your coverage area. More technology does not make the decision for you.
How can you use beam cones to find better fishing spots?
- Search question: Where might the target fish realistically be today?
- Area: Use the wide cone and scan the structure in a fan pattern.
- Verification: Scan notable spots more narrowly or from a second direction.
- Documentation: Record the map, location, and conditions.
- Fishing decision: Only now should you choose the lure, casting angle, and retrieve.
This translation from the sonar image to a fishing plan is exactly what the Deeper course focuses on. Not because a table alone is mysterious, but because real examples show you when an image is relevant and when it is merely interesting.
What are the most common mistakes when choosing a beam cone?
- Treating the wide cone as a precise drop-off: Check it first, then mark it.
- Misusing the narrow cone to search a large area: You see details, but you may miss relevant zones beside it.
- Evaluating only one cast: A second angle helps prevent misinterpretations.
- Prioritizing fish symbols over structure: The structure and conditions provide a more reliable basis.
- Applying old frequency values to every model: Angles and frequencies depend on the specific device; check the current manual.
Conclusion: First the right question, then the right cone
The original article and its video remain fully intact as the technical foundation. The new structure adds short answers, a clear search strategy, and guidance for avoiding common misinterpretations; specific model values are deliberately not generalized.